A cancellation does not have to become an empty appointment slot. For many local service companies, the bigger problem is not demand. It is the gap between a customer canceling and the team finding the right person to fill that time without creating confusion, double bookings, or pushy messages.
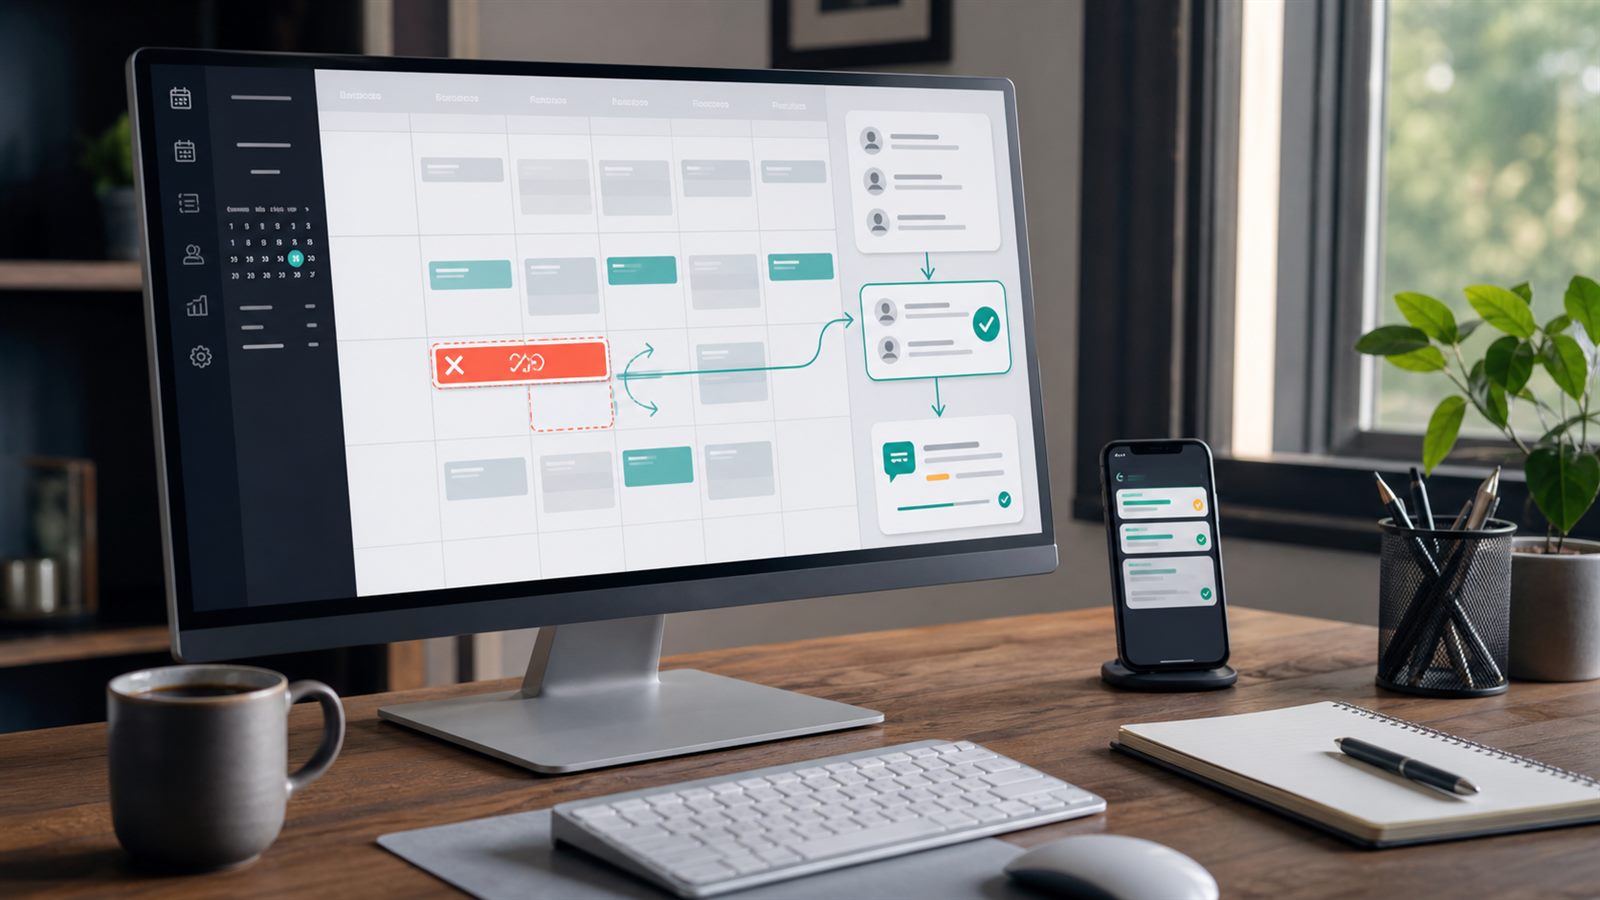
An appointment waitlist fill-in automation solves one narrow problem: when a customer cancels or moves an appointment, the system finds eligible waitlist contacts, offers the slot in a controlled order, confirms the first valid response, and closes the offer for everyone else. It is not a replacement for scheduling judgment. It is a guardrail that helps the team recover useful capacity without overpromising availability.
Editorial note: This guide is an independent workflow tutorial. It does not contain affiliate links.
When this automation is useful
This workflow fits appointment-based service businesses such as repair companies, clinics, consultants, installers, home service teams, cleaning companies, and studios. It is most useful when customers often ask for earlier appointments, canceled slots are valuable, and staff currently fill gaps by manually searching notes, texting several people, and hoping nobody accepts at the same time.
If your main issue is customers changing existing bookings, start with cancellation and reschedule request automation. If your issue is calendar accuracy, review booking conflict checks first. A waitlist workflow depends on both.
What the workflow should do
A practical waitlist fill-in workflow has eight jobs:
- detect a canceled, moved, or released appointment slot;
- confirm that the slot is still usable before offering it;
- find waitlist contacts who match the service, location, duration, and timing;
- check communication consent and opt-out status before messaging;
- offer the slot in a controlled sequence or small batch;
- reserve the slot temporarily while a customer responds;
- book the first eligible acceptance and notify staff;
- log every offer, response, expiration, and final booking decision.
The key is state control. The workflow should know whether a slot is open, offered, held, booked, expired, or manually blocked. Without those states, a waitlist automation can create the exact scheduling mess it was meant to prevent.
Step 1: Define what counts as a fillable opening
Do not trigger the waitlist every time a calendar event changes. Start with a specific rule: the opening must be inside working hours, long enough for the service, inside the service area, assigned to an available technician or provider, and far enough in the future that the customer can reasonably accept.
For example, a plumbing company might offer only canceled slots that are at least two hours away, inside the same service zone, and attached to a technician who is not already dispatched. A clinic might require 24 hours of notice and a matching appointment type.
This connects directly to service area checks and technician dispatch notifications. If travel time or dispatch status has already changed, the slot may not be safe to offer automatically.
Step 2: Listen for calendar changes without polling forever
If the business uses Google Calendar as the source of truth, the Google Calendar API supports push notifications for resource changes. The push notification guide explains that an application sets up a webhook callback URL and creates a notification channel for the resource it wants to watch. Calendar notifications tell the app that something changed, but they do not include the full updated event details, so the workflow must fetch the event before acting.
Google’s Calendar synchronization guide also explains incremental sync with stored sync tokens. That matters because push notifications are not a complete database by themselves. The safer design is to receive a change signal, run an incremental sync, and compare the latest event state with the workflow’s own appointment log.
For booking platforms, use their webhook events when available. Calendly’s webhook documentation, for example, supports events for scheduled and canceled invitees. A cancellation event can start the waitlist workflow, but the workflow should still re-check the real calendar before offering the slot.
Step 3: Build a useful waitlist record
A waitlist is not just a list of names. Each record needs enough data to decide whether the person is a fit for a newly opened slot. Store at least:
- customer name and contact method;
- requested service or appointment type;
- preferred date range, days, or time windows;
- service address or location constraint;
- minimum notice needed;
- priority reason, such as urgent repair or prepaid visit;
- communication consent source and timestamp;
- last offer sent, response status, and number of skipped offers.
If waitlist contacts come from forms, phone calls, or intake sheets, normalize the data before the workflow uses it. The same intake discipline applies here: inconsistent fields create bad automation decisions.
Step 4: Filter before you message anyone
The best waitlist offer is relevant and limited. Before sending a message, filter by hard constraints:
- the requested service can be performed in the open slot;
- the location fits the provider’s route or service area;
- the customer has not opted out of the channel;
- the customer has not already declined this slot or a similar time;
- the appointment does not require documents, deposits, or approvals that are still missing;
- the customer can accept within a short expiration window.
If the appointment requires a deposit or document review, connect the filter to deposit payment requests or document collection before offering the slot. A customer who cannot complete a prerequisite should not receive a time-sensitive offer that staff cannot honor.
Step 5: Send offers in a controlled order
There are two safe patterns. The first is sequential: message one customer, hold the slot for 10 or 15 minutes, then move to the next person if there is no acceptance. The second is a small batch: message two or three eligible contacts at once and confirm the first valid acceptance. Sequential is slower but easier to control. Small-batch is faster but needs stricter locking.
For SMS, keep the message clear and honest:
A 2:30 PM appointment opened today for your requested service. Reply YES by 12:45 PM if you want us to reserve it. Reply STOP to opt out.
Twilio’s Messages resource documentation describes outbound messages through the REST API. Twilio’s messaging policy requires prior express consent and a clear way to opt out for messaging. The workflow should check consent before sending, include opt-out language when required, and stop messaging a customer who opts out.
Step 6: Lock the slot before confirming
The riskiest part of a waitlist automation is accepting two customers for one opening. Prevent that with a short slot lock. When someone replies YES, the workflow should immediately mark the slot as held, re-check the source calendar, and then create or update the booking. If the slot is no longer available, send a plain apology and do not pretend the booking succeeded.
A simple lock table can include:
- slot ID, provider, start time, and duration;
- current state: open, offered, held, booked, expired, or blocked;
- hold expiration time;
- customer ID currently holding the slot;
- source calendar event ID and latest update timestamp;
- audit log of every state change.
This is the same principle as calendar change alerts: the team needs to know when the schedule changed, why it changed, and whether the automation acted on the latest version.
Step 7: Close the loop with customers and staff
After the slot is booked, send one confirmation to the accepting customer and stop the offer for everyone else. If other customers received the same small-batch offer, send a short message only when needed: the opening has been filled, and they remain on the waitlist. Do not keep sending repeated “slot filled” messages for every expired offer.
Staff should receive a compact internal note with the appointment time, customer, service type, source of acceptance, and any exceptions. If the appointment is soon, connect the update to technician ETA or dispatch notifications so the provider sees the new plan before leaving.
What to measure
Track whether the workflow recovers capacity without irritating customers:
- fillable cancellations detected;
- waitlist offers sent;
- acceptance rate by service type and notice window;
- slots filled before expiration;
- double-booking attempts blocked;
- customers who opted out after waitlist offers;
- manual overrides by staff;
- revenue or hours recovered from filled openings.
Be careful with conclusions from small samples. A high acceptance rate for one week may reflect unusual demand, weather, seasonality, or staff behavior. Use the numbers to improve timing and eligibility rules, not to make guaranteed revenue claims.
Common mistakes to avoid
Offering every opening automatically
Some openings are not usable. Travel, preparation time, documents, equipment, and staff availability may make a technically open slot unsafe to offer.
Messaging too many people at once
Large batch messages create frustration when several customers accept and only one gets the booking. Start with sequential offers or very small batches.
Ignoring consent and opt-outs
A waitlist request is not permission to send every type of marketing message. Keep the subject narrow, record consent, and honor opt-outs immediately.
No expiration window
An offer should expire quickly and clearly. Otherwise a customer may reply hours later after the slot is already gone.
No human override
Staff should be able to block a slot, skip a customer, or stop the automation when there is context the system cannot understand.
A simple starter stack
A small service business can build the first version with a booking calendar, a waitlist table in a CRM or spreadsheet, a workflow builder, and an SMS or email provider. Start with one service type and one location. Once the workflow proves reliable, add more services, routing rules, and staff notifications.
The first version should not use AI to decide who deserves the slot. Rules are better for eligibility. AI can help summarize cancellation notes or classify free-text waitlist requests, but final booking logic should stay deterministic and auditable.
Bottom line
An appointment waitlist fill-in automation works when it is narrow, state-aware, and respectful. Detect a real opening, filter eligible customers, send a limited offer, lock the slot before confirming, and record every decision. That is enough to recover canceled time without turning the calendar into a source of new customer problems.